
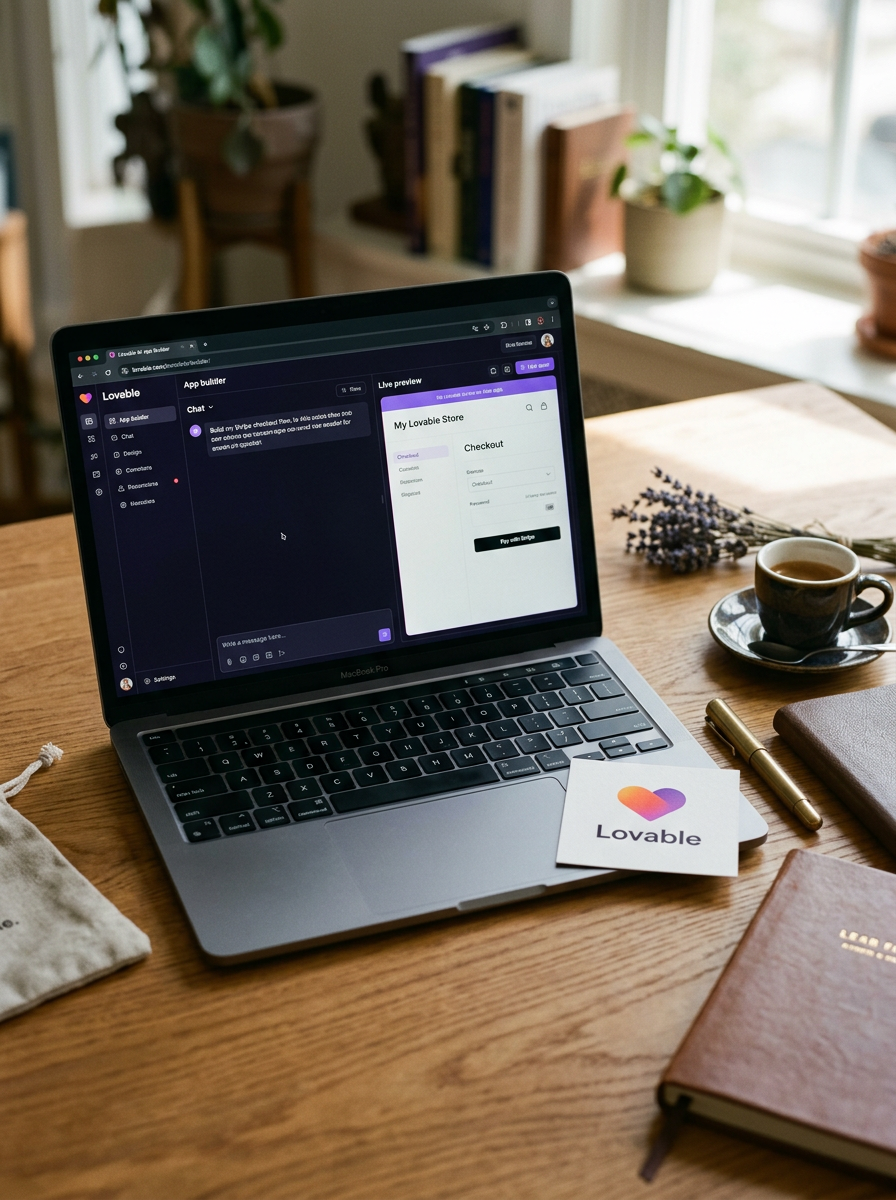
Connect Stripe to Lovable using the fast native integration for basic payments or the manual API setup for full control. For production apps, you must use Stripe Webhooks to securely confirm transactions and fulfill orders, which involves creating a webhook endpoint in Lovable and verifying signatures.
Accepting money is the moment of truth for any application. It's the point where your project transitions from a hobby into a business. For years, this was a notoriously hard problem to solve, riddled with security risks and complex code. Today, in 2026, pairing a builder like Lovable with a payments platform like Stripe feels almost trivial-at first glance.
Lovable has evolved. It now ships with a first-party Stripe integration that gets you 80% of the way there in five minutes. It's clean, it's fast, and for simple use cases, it's all you need. But the real power-and the path to a production-grade, scalable app-lies in understanding how to bypass the easy route and talk to Stripe's API directly. This guide covers both paths: the quick-start native connection and the robust manual setup required for anything serious.
The Fast Lane: Native Integration
Lovable's native Stripe integration is the fastest way to connect your account, handling authentication and basic payment actions with just a few clicks. If your goal is to sell a single product or a simple subscription without complex logic, this is your starting point. It's designed for speed and simplicity, abstracting away the need to look at an API key.
Think of it as the valet key for your car. It lets you perform essential functions without handing over full control. By 2026, Lovable's UI for this is incredibly polished. Here's how it works:
- Navigate to Integrations: From your Lovable dashboard, go to Settings > Integrations. You'll see a gallery of first-party connections.
- Connect Stripe: Find the Stripe logo and click "Connect". This will initiate an OAuth 2.0 flow.
- Authorize in Stripe: You'll be redirected to a Stripe page. If you're not logged in, you'll be prompted to do so. Stripe will ask you to authorize Lovable to access your account data. Click "Authorize".
- Done: You are redirected back to Lovable. The integration now shows an "Active" status. That's it. Authentication is complete and securely stored by Lovable.
With the connection live, you can now use pre-built Stripe actions within Lovable's logic editor. When you build a server-side action, you'll see a new category for Stripe with actions like `Create Checkout Session` and `Create Customer Portal`. To sell a single product, you'd simply add the `Create Checkout Session` action, select a Product ID from a dropdown menu that pulls directly from your Stripe account, and then use a "Redirect" action to send the user to the checkout URL it generates. It's slick, fast, and removes nearly all room for error.
The Scenic Route: Manual API Setup
The manual API setup provides granular control by letting you use Stripe's full API surface directly within Lovable's generic API connector. The native integration is great, but it's an opinionated simplification. Sooner or later, you'll want to do something it does not support-like use Stripe Identity for KYC, issue virtual cards with Stripe Issuing, or build a multi-step payment flow with custom metadata.
This is where you graduate to the manual setup. It's not harder, just more explicit. You will manage your own API keys and construct your own API calls. This is the professional-grade way to build.
First, you need a restricted API key. Never use your account-wide secret key in an external application, even one as trusted as Lovable. Restricted keys limit the blast radius if a key is ever compromised.
- Generate a Key in Stripe: In your Stripe Dashboard, go to the Developers section and click on "API Keys".
- Create a Restricted Key: Click "+ Create restricted key". Give it a descriptive name, like "Lovable App - Production".
- Set Permissions: This is the critical step. Grant only the permissions your app needs. For a basic checkout flow, you'll need:
`checkout.sessions`: Write `customers`: Write (to create new customers) * `webhook_endpoints`: Write (to manage webhooks programmatically, optional but good practice)
- Copy the Key: After creating the key, Stripe will show you the secret (it will start with `rk_live_`). Copy it immediately. You won't be able to see it again.
Now, let's wire this up in Lovable:
- Store the Secret: In Lovable, go to Settings > Secrets. Create a new secret named `STRIPE_API_KEY` and paste the key you just copied.
- Configure the API Connector: Navigate to the API tab in the Lovable editor. Create a new "External API" and name it "Stripe API (Manual)".
Base URL: `https://api.stripe.com` Authentication: Set the type to `Bearer Token`. Token Value:* Instead of pasting the key directly, use Lovable's secret syntax: `{{secrets.STRIPE_API_KEY}}`.
Your manual connection is now ready. You can make calls to any Stripe API endpoint by adding an API Request step to your Lovable actions and selecting "Stripe API (Manual)" as the source.
| Feature | Native Integration | Manual API Setup | | :--- | :--- | :--- | | Setup Time | < 2 minutes | ~5-10 minutes | | Security | Managed by Lovable (OAuth) | Your responsibility (Restricted Keys) | | Flexibility | Limited to pre-built actions | Full Stripe API access | | Use Case | Simple checkouts, MVP | Custom logic, advanced features |
Building a One-Time Payment Flow
You can build a one-time payment flow by creating a "Pay" button that triggers a Lovable action to call Stripe's Checkout Session API. This is the most common task you'll perform. We will use the manual setup from the previous section to illustrate the complete process, as it gives us more transparency into what's happening.
First, you need something to sell. In your Stripe dashboard, go to the Products section and create a new product. Give it a name, and then add a price. Once saved, click on the price to view its details and copy the Price ID (it looks like `price_xxxxxxxxxxxxxx`).
Now, back in Lovable:
- Create the UI: Drag a button onto your app's canvas. Style it and set its text to something like "Purchase Now - $25".
- Create the Server Action: Go to the Actions tab and create a new server-side action. Let's name it `Create Checkout Session`.
- Add API Request Step: Inside the action, add an API Request step. Configure it to use your "Stripe API (Manual)" connector.
Method: `POST` Endpoint: `/v1/checkout/sessions` Body Type:* `x-www-form-urlencoded` (This is how Stripe's server-side libraries often format requests).
- Define the Body: Add the following key-value pairs to the request body. This tells Stripe what you're selling and where to send the user after the transaction.
`line_items[0][price]`: Paste your Price ID here. `line_items[0][quantity]`: `1` `mode`: `payment` `success_url`: `https://your-app.lovable.site/payment-success` * `cancel_url`: `https://your-app.lovable.site/payment-cancelled`
- Handle the Response: The Stripe API, if successful, will return a JSON object containing a `url`. This is the checkout page URL for this specific transaction. Add a new step to your Lovable action after the API request: "Redirect to URL". For the URL value, use the output of the previous step: `{{steps.api_1.data.url}}`.
Finally, select the button on your canvas and, in the `onClick` event handler, trigger the `Create Checkout Session` action you just built. When a user clicks it, Lovable will execute your action on the server, securely call Stripe, get a unique checkout URL, and redirect the user's browser to it. They complete the payment on a Stripe-hosted page, and are then sent to your success or cancel URL.
The Final Mile: Handling Webhooks
Handling Stripe webhooks in Lovable involves creating a public Lovable endpoint and registering it in Stripe to listen for events like successful payments. This is the most important-and most frequently overlooked-step for building a real application. Never, ever trust the client-side `success_url` redirect to fulfill an order. A user could close their browser after paying but before the redirect, or a malicious user could simply navigate to your success page without paying at all.
The source of truth must be a server-to-server confirmation from Stripe. This is what webhooks are for.
- Create a Webhook Endpoint in Lovable: In the Lovable editor, go to the Actions tab and create a new action. This time, set the trigger to "Webhook". Lovable will instantly generate a unique, public URL for this action. Copy it.
- Register the Endpoint in Stripe: In the Stripe Dashboard, go to Developers > Webhooks. Click "Add an endpoint". Paste the URL from Lovable into the "Endpoint URL" field. For the events, don't listen to everything. Be specific. Select "Listen to specific events" and choose `checkout.session.completed`.
- Secure Your Endpoint: After creating the endpoint, Stripe will reveal a "Signing secret" (it starts with `whsec_`). This is a password that Stripe will use to "sign" every request it sends to you, proving it came from them. Copy this secret.
- Store the Secret in Lovable: Go back to Lovable Settings > Secrets and create a new secret called `STRIPE_WEBHOOK_SECRET`. Paste the signing secret there.
- Build the Webhook Logic: Now, edit the webhook action you created in Lovable. This is what will run every time a customer successfully pays.
Step 1: Verify Signature. The very first step must be security. Lovable has a built-in utility for this. Add a step and search for `Stripe: Verify Webhook Signature`. It requires three inputs: `Payload`: `{{trigger.body}}` (The raw request from Stripe) `Signature Header`: `{{trigger.headers['stripe-signature']}}` `Signing Secret`: `{{secrets.STRIPE_WEBHOOK_SECRET}}` Step 2: Add Conditional Logic. Add a condition that checks if the verification step failed. If it did, stop execution immediately. Step 3: Fulfill the Order. If the signature is valid, you can trust the payload. The data for the event is in `{{trigger.body.data.object}}`. You can now use this data to do things like: Find the user in your Lovable database (perhaps using the `customer_email` or a `client_reference_id` you passed during checkout creation). Update a field on their user record, for example, `has_access_to_pro_features = true`. * Trigger an email via a SendGrid or Resend integration to send a receipt and welcome message.
This webhook flow is the difference between a demo and a business. It's the robust, asynchronous, and secure way to confirm that money has changed hands before you grant access to your digital goods or services.
FAQ: How do I handle subscriptions?
To handle subscriptions, the process is very similar to a one-time payment, but with two key changes. First, when creating your product in Stripe, create a recurring price instead of a one-time price. Second, in your `Create Checkout Session` API call, set the `mode` parameter to `subscription` instead of `payment`. You'll also need to handle additional webhooks, such as `customer.subscription.deleted` to revoke access when a user cancels, and `invoice.payment_failed` to notify them of billing issues.
FAQ: Can I use Stripe Elements?
Stripe Elements provides beautiful, pre-built UI components for credit card forms that you can embed directly in your site. While Lovable doesn't have a native drag-and-drop component for Stripe Elements yet, you can absolutely use them by leveraging Lovable's custom code component feature. You would embed the Stripe.js script in your app's settings, add a custom component for the payment form, and write JavaScript to mount the Element and create a payment method. You would then pass the resulting `payment_method_id` to a Lovable server action to create the payment on the backend. This is an advanced technique but offers maximum control over the checkout experience, allowing you to build the payment form directly into your app page instead of redirecting to Stripe's hosted checkout.
FAQ: What are common Stripe errors in Lovable?
Most errors fall into three categories. First, `401 Unauthorized` errors almost always mean your API key is wrong, expired, or doesn't have the right permissions. Double-check your restricted key settings in Stripe and ensure it's stored correctly in Lovable Secrets. Second, `400 Bad Request` errors usually point to a mistake in your API request body. A common one is sending a floating-point number for a price (e.g., `10.99`) when Stripe expects an integer in cents (`1099`). Carefully read the Stripe API documentation for the specific endpoint you're calling. Finally, webhook signature verification failures mean your `STRIPE_WEBHOOK_SECRET` is incorrect or you are not correctly passing the raw request body to the verification function. Make sure you are using the `{{trigger.body}}` variable, not `{{trigger.parsed_body}}`.
The Briefing
The best of Lovable, once a week.
Deep reviews, founder case studies, and growth tactics. No filler.
No spam. One-click unsubscribe.
Build something with us
Start Building with Lovable
Open Lovable, write your first prompt, and ship the thing you have been thinking about for too long.
Start Building with Lovable